Lastly we will use a table to position information on a page.
Before going any further, though, spell check your entire site. Double click on each html file in the Files window to bring them up in the editor. Then select Tools->Spell Check All... and make all necessary changes. You should then save all your changes and choose File->Close All.
Now make a new page and save it as myhstutorlastpage.html. Include the style sheet and give it the title HomeSite Tutorial Last Page. Ensure your last page links correctly to the Index page and type in the text of the present page up to the end of this sentence.
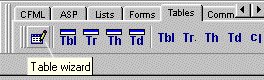
| You are now ready to insert a table. Place the cursor before the /body tag and insert paragraph tags. With the cursor between these tags, select the Table Wizard from the Tables tab of the Quick Bar. | |
|
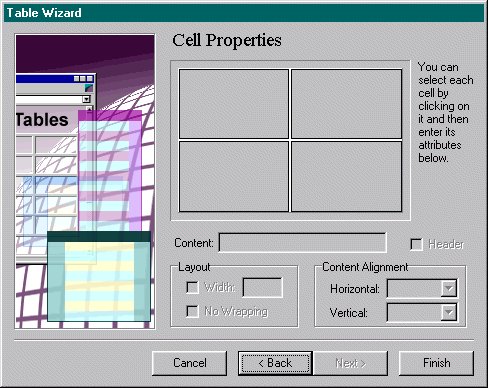
The Table Wizard dialog appears. There are 2 rows and 2 columns provided. Extend the table to 3 rows using the Rows + button. Then press Next>. The Table Properties dialog materializes. Simply accept the default values here and press Next> again. The Cell Properties window is then displayed. However, we will leave control of the cell formatting to our styles. So this also does not need modifying - just press Finish. |
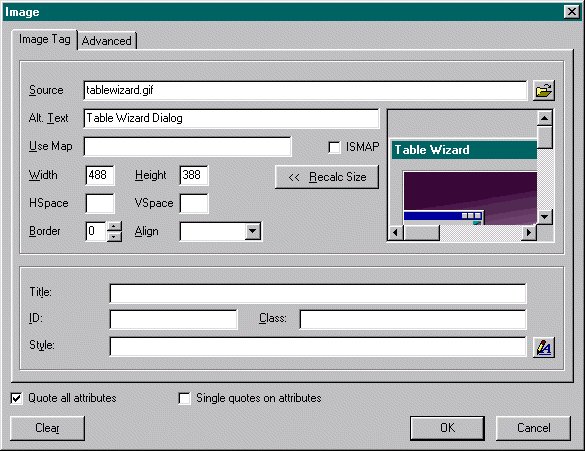
| Examine the tags inserted by the wizard. The formatting of this table is enclosed by the pair of table tags. Identify the 3 rows of the table, delimited by the tr tags within it. Inside each pair of tr tags there are two pairs of td tags, which define the data in each of the two cells in that row of the table. Observe that the tags are all neatly indented to reflect the formatting structure of the table. Now use the Image button to insert the image tablestoolbar.jpg into the second cell of the first row and the image tablewizard.jpg into the first cell of the second row. While the Image dialog is on the screen, set an alternative text for each image - a feature which might assist any visually impaired reader. | |
To complete the tutorial, insert the Image Dialog image into the second cell of the third row
of your table and enter the text of the table, as above, into the remaining cells.
You will then need to adjust the sizes of the images used (to about half) to construct a pleasing layout,
perhaps nicer than the one shown here, avoiding horizontal scrolling as much as possible.
Check your page under several browsers. You may find that some do not accept your current table styles. To
correct this, you can remove the TABLE style altogether and add the property
color : Navy;
to the TD style.
Then paste in the last code fragment, codesec8lastbit.html.
Validate all your code and spell check the text of this last page.
Also check the download time of your document with Tools->Document Weight option.
No page should take more than 30 seconds with a 28.8 kb ps modem.
Finally, save all edited files.